
The Bike Commuter
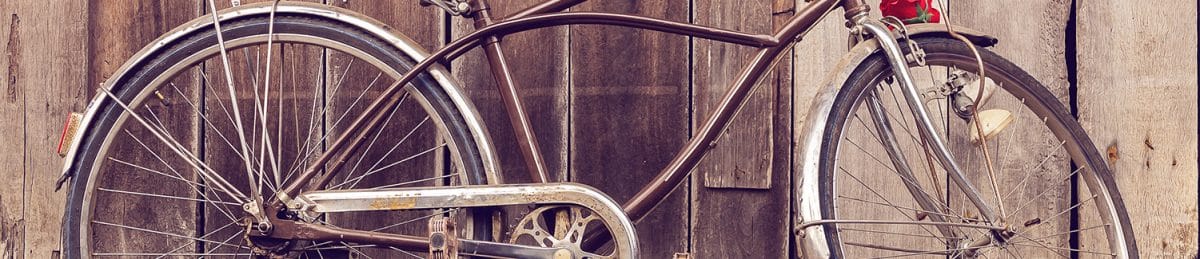
Welcome to The Bike Commuter, a fresh cycling resource for bicycling enthusiasts. Our primary focus will be on cycles and gear used in commuting, as that is how we spend most of our time on a bike. But we also enjoy mountain biking, competitive cycling, and just getting out for a casual ride.
We all suffer from BAS – bike acquisition syndrome – which means we are always looking at the latest bikes and accessories. And since we have families, we also consider gear for our significant others and kids. We also discuss news from the world of cycling, and offer gear reviews to help you locate exactly the right equipment for your needs.
Our mission is to create a comprehensive site that gives our readers exceptional bicycling content that is both easy to read as well as informative.
Recent Posts

What makes a good commuter bike
There are dozens of reasons to ditch the traditional commute by car and pedal to work by your own power – saving money, environmental concerns, keeping in shape, and more. But commuting by bike can [...]
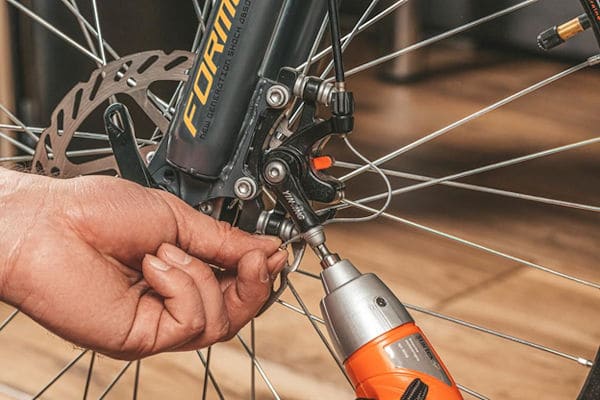
Easy Guide for Adjusting your Bike Brakes
Every cyclist wants a smooth ride. Several factors go into that – proper riding technique, high-quality gear, and a good set of brakes. Bicycle brakes tend to wear down and become less effective over time. [...]

Do All Bike Chains Have A Master Link? (And How to Find It)
One of the most overlooked and integral parts of your bike is the chain itself, as this is what delivers your power to the gears and what keeps you moving forward. However it's often only [...]
Commuter Profiles

Commuter Profile: Bruce Wright
Note: We're pleased to offer an intro to Bruce Wright, one of the leading advocates for better bicycling facilities, policies, and education in the greater Washington, D.C. area (and specifically Fairfax County, VA). Bruce's advocacy [...]

Commuter Profile: Emily Shellabarger
Hey Bike Commuters! Mir.I.Am here to share a super commuter profile with you for your after-turkey-afterglow enjoyment. Say "hello" to Emily Shellabarger, a Bay Area train and bike commuting gal on the go. Although the Bike [...]

Commuter Profile – Christian P. Kittelson
Lookout, cycle gators: it's commuter profile season again! This bike commuter is one of my original bike heroes, and good, good friend, CPK. Not California Pizza Kitchen, I'm talkin' Christian P. Kittelson, yo. Hailing from [...]
All About Commuting Gear
I’ve been a cyclist for upwards of 30 years, and I’ve experienced a lot of different cycling disciplines and cultures…from BMX racing and freestyle in the late 70s/early 80s to road racing in the mid- to late 80s, mountain biking in the early 90s, commuting, cargo-hauling, joyriding, beach cruising, urban assault and pretty much every other conceivable flavor. I’ve owned and appreciated many bikes in that time…road, mountain, fixed and free, single-speed and bikes with dozens of gears. Out of that diverse experience come a number of our reviews:
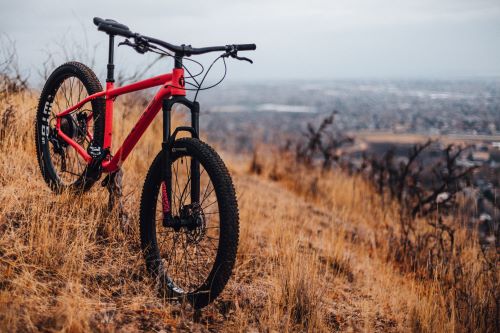
5 Terrific Mountain Bikes for Commuting
Most people don’t think of mountain bikes when they think of a quality commuter bicycle, but they’re potentially missing out on one of the best commuting options for those looking to cut down on their [...]

Top 7 Budget Commuter Bikes Reviewed
Commuting to work by bike keeps you in shape and reduces parking issues too. However, some of the commuter bikes cost a small fortune and defeat the purpose of saving money. Instead, pick a budget [...]
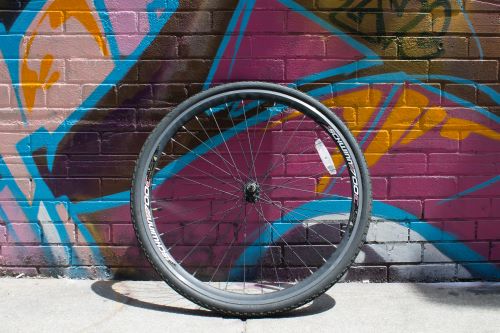
Top 5 Commuter Bike Tires Reviewed
Cycling to work is good for both your health and the environment. It’s a great way to exercise and can help you shed the pounds and boost your mental wellbeing, and whilst you are getting [...]
Bike Commuting Skills
Some basic commuter tips
Bike commuting is a great way to stay active, save money, and help the environment at the same time. With your route planned out, and the proper mindset, you can set yourself up for a [...]

Training to Commute, Commuting to Train
A buddy of mine once told me that the only way to get better at any craft is not just practice but perfect practice. He was and remains one of the most technically superb surgeons [...]

The Realities of Biking to Work
There are lots of reasons to trade in your car and make the switch to biking to work every day. Of course, knowing why you should bike into work is a lot different than knowing [...]